Real-time ray tracing tutorial series using NVIDIA OptiX 7
(This is a work in progress)

Getting started
Configure OptiX, setup a shader binding table, and write a ray-generation and ray-miss program to render a background gradient
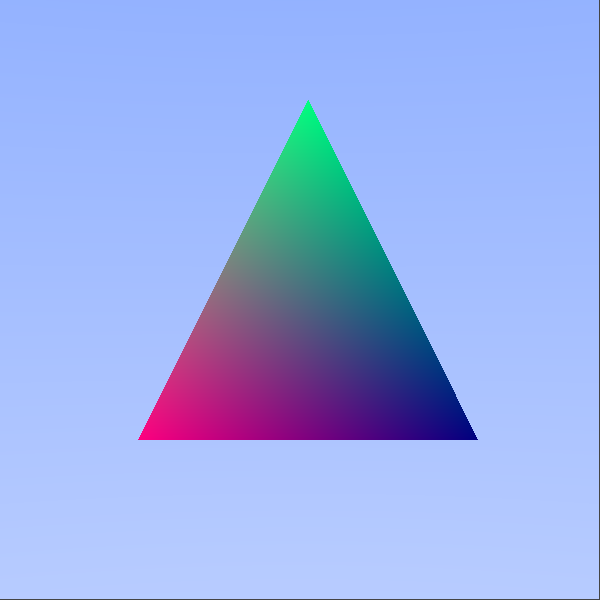
Rendering a triangle
Write vertex data to the GPU, build a geometry acceleration structure (GAS), and write a closest-hit program to render a single triangle
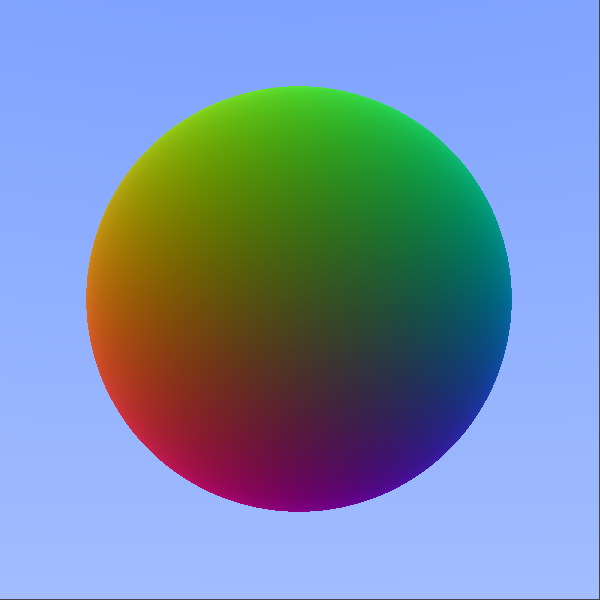
Making a custom primitive: ray-sphere intersection
Write a ray-intersection program, create a custom primitive, and render a sphere using the intersection point and surface normal vector
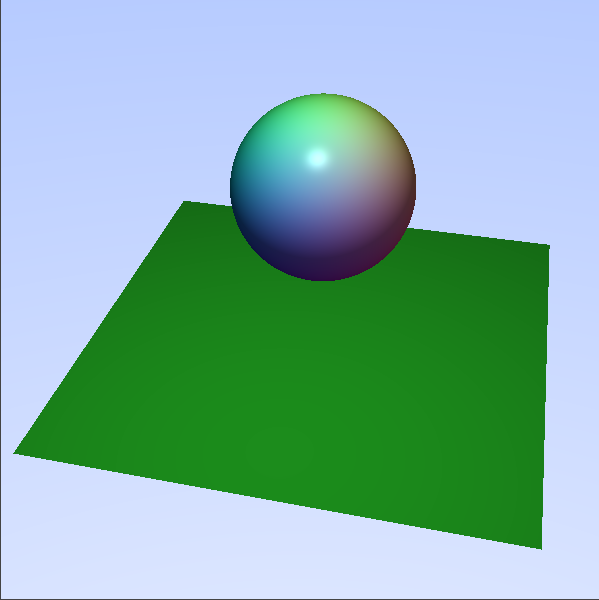
Light sources and basic shading
Use an instance acceleration structure (IAS) to combine triangle meshes and spheres to create a scene with ambient, diffuse and specular lighting
Advanced shading: shadows
Introduce a second ray type, define occlusion shaders, and move the light source to cast dynamic shadows

Extra
- Implementing a user-controlled camera
- Denoising
- Exporting to image or video
- A high-level Python interface using pybind11